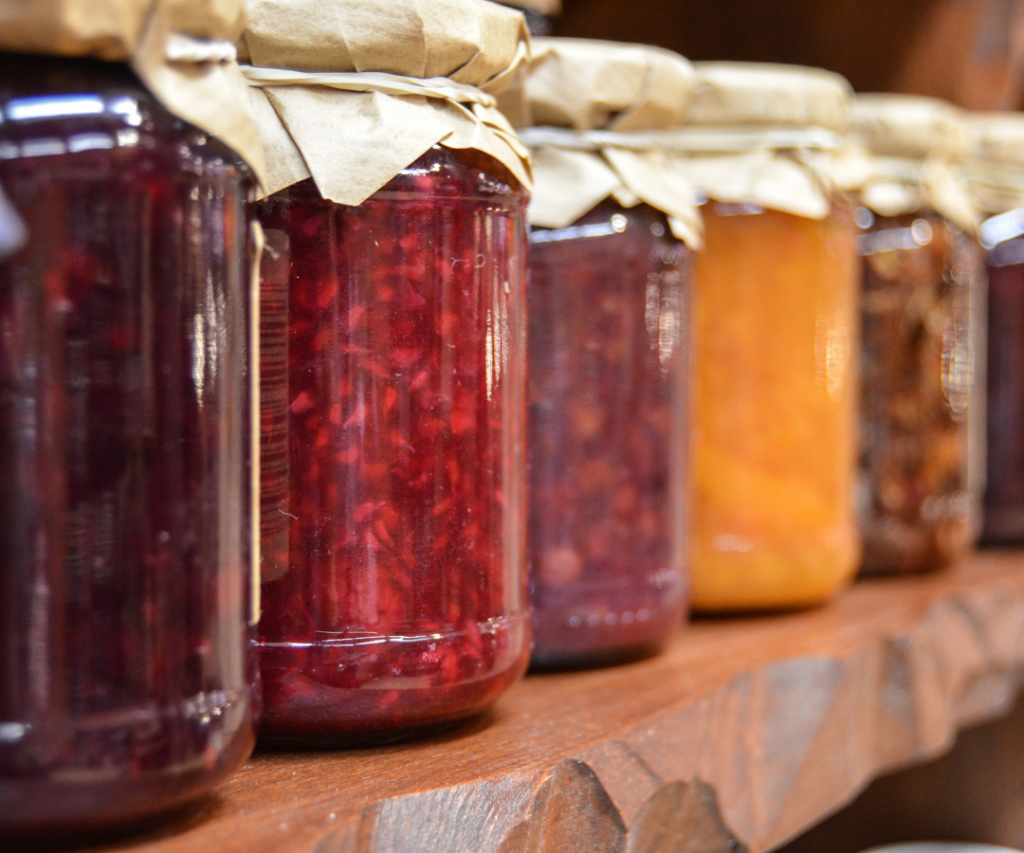
This week we are focusing on the old technique of preserving to celebrate national preserving week. This thousand year old technic is loved by millions due as there are many benefits to preserving food including reducing wastage!
There are countless benefits of preserving food. For example, fermented cabbage in dishes such as sauerkraut or kimchi is packed with probiotics – which can boost gut health. Some of the more specialised ‘superfoods’ come from preserved foods as well. Baobab powder has recently become easily available on the health food market, and the benefits are endless. You name it; vitamins, minerals, probiotics, antioxidants – baobab powder has it all. And it’s all accessible thanks to the wonders of preservation.
Whilst it might not be immediately obvious how preserving food helps the environment, studies have shown that the use of preserved foods can significantly cut down on food waste. Moreover, food waste is a major problem for the environment, as the production of food both plant and animal is a major polluter to the planet.
A lot of these methods of preservation don’t require any special equipment or skills. That means you can preserve the fresh fruit you’ve picked whilst on a country holiday, and then access that gorgeous taste for months to come.
Below we have selected a few recipes to the benefits of preserving foods.
Kumquat Marmalade
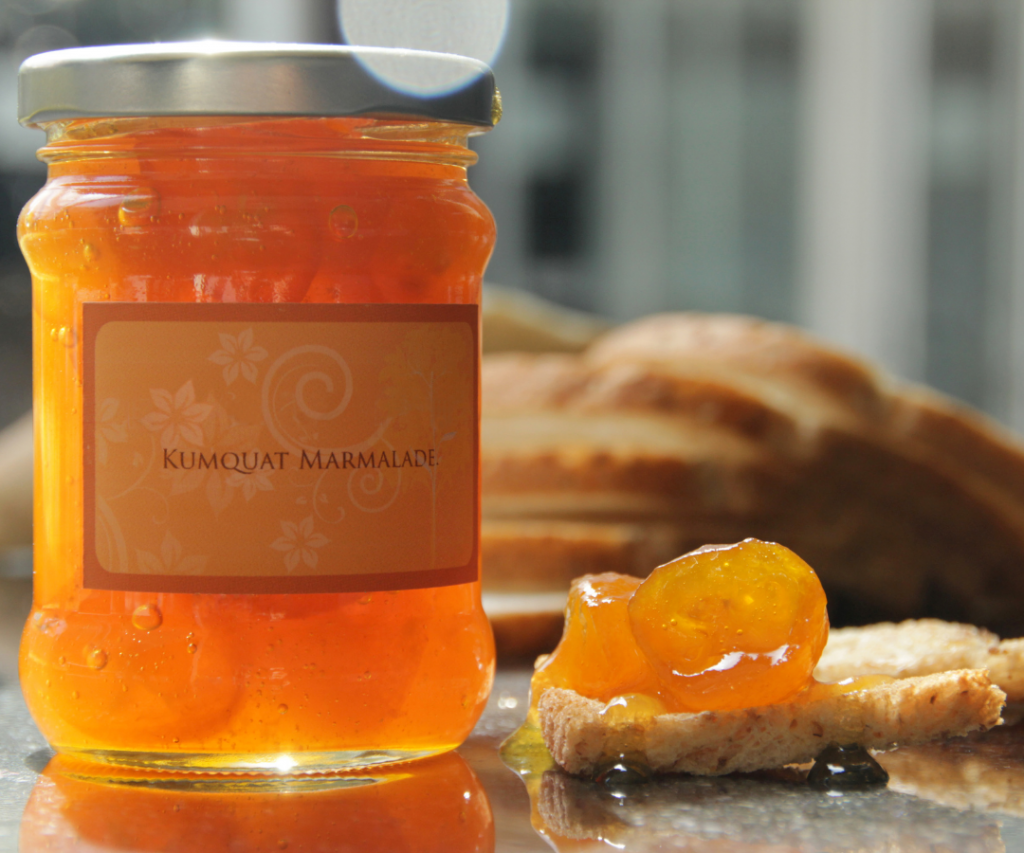
Ingredients:
2 ½ cups of kumquats
zest and juice of orange
1 cinnamon stick
4 whole cloves
1 cup of caster sugar
1 cup of cold water
Method:
Step 1:
Prepare the Kumquats by splitting length ways, removing the seeds, and chopping finely.
Step 2:
Once all the kumquat’s have been chopped up, place them in a pot with all the rest of the ingredients.
Step 3:
Let the pot sit for 3-4 hours. This is an important step, don’t skip it!
Step 4:
Once the 3-4 hours is up, place the pan on a medium/high heat until it comes to a boil. Reduce the heat until the pot is gently simmering and cook for about 50 minutes until a jam thermometer tells you the temperature of the mixture is 125 degrees Celsius!
Step 5:
Let the marmalade cool for about 15 minutes, then place it inside some sterilized jars (you can sterilize jars by washing and drying them thoroughly, then placing them and the lids in a 100 degree Celsius oven for 20 minutes. Make sure they are heat proof!)
Step 6:
Refrigerate your kumquat marmalade, as it’s better eaten chilled and if the sterilization process of the jars is done right, this should ensure your marmalade is fresh for months to come!
Kimchi
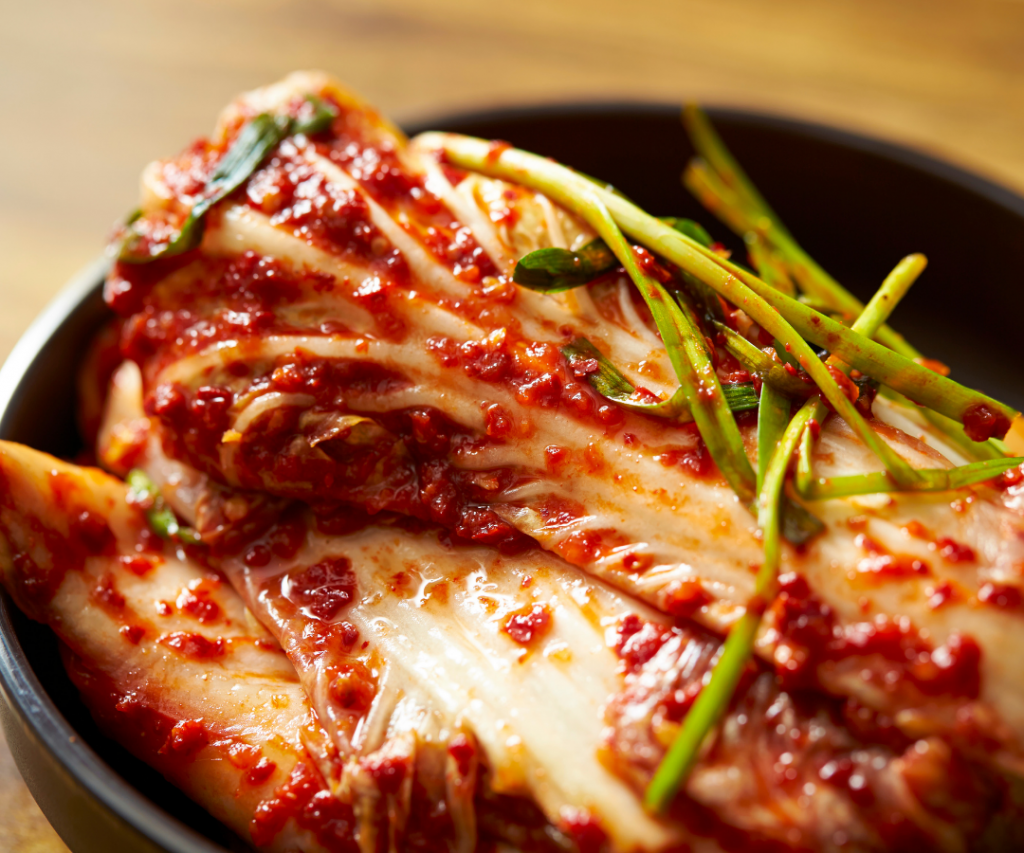
If the mention of sauerkraut above piqued your interest, then you might want to think about kimchi. It’s made in a very similar way, but using extra spices and flavourings, kimchi is a very more-ish accompaniment to many Korean dishes. Check out your nearest Asian supermarket to get some of the ‘gochugaru’ spice required for this dish!
Ingredients:
1 white cabbage
¼ – ½ a cup of gochugaru spice (Korean chilli paste – add however much you want depending on how spicy you want your kimchi!)
½ Cup to 1 Cup – coarse sea salt
7 cloves of garlic, minced
1 onion, finely chopped
15 grams of fresh ginger, minced
¼ cup of fish sauce
¼ cup of white rice vinegar
1 cup of spring onions, washed and finely chopped.
Method:
Step 1:
Remove the outside leaves from the cabbage. Discard these leaves, then remove the rest of the leaves and wash them all individually (this is the best way to get all the sand and dirt out of the way). Make sure to shake them dry.
Step 2:
Secondly, slice the cabbage up into 1 inch chunks and place in a bowl. Sprinkle the salt over all the cabbage, making sure every piece of cabbage is covered in it.
Step 3:
Cover the bowl loosely with a cloth then place in a cool dark place overnight.
Step 4:
When this time has elapsed, give the cabbage a little stir then wash off all the salt with cold water.
Step 5:
Mix the rest of the ingredients together in a bowl, then add to the fermented cabbage.
Step 6:
Store in an airtight jar for up to six weeks in the fridge. Enjoy with salads, or in sandwiches!
Vanilla Extract
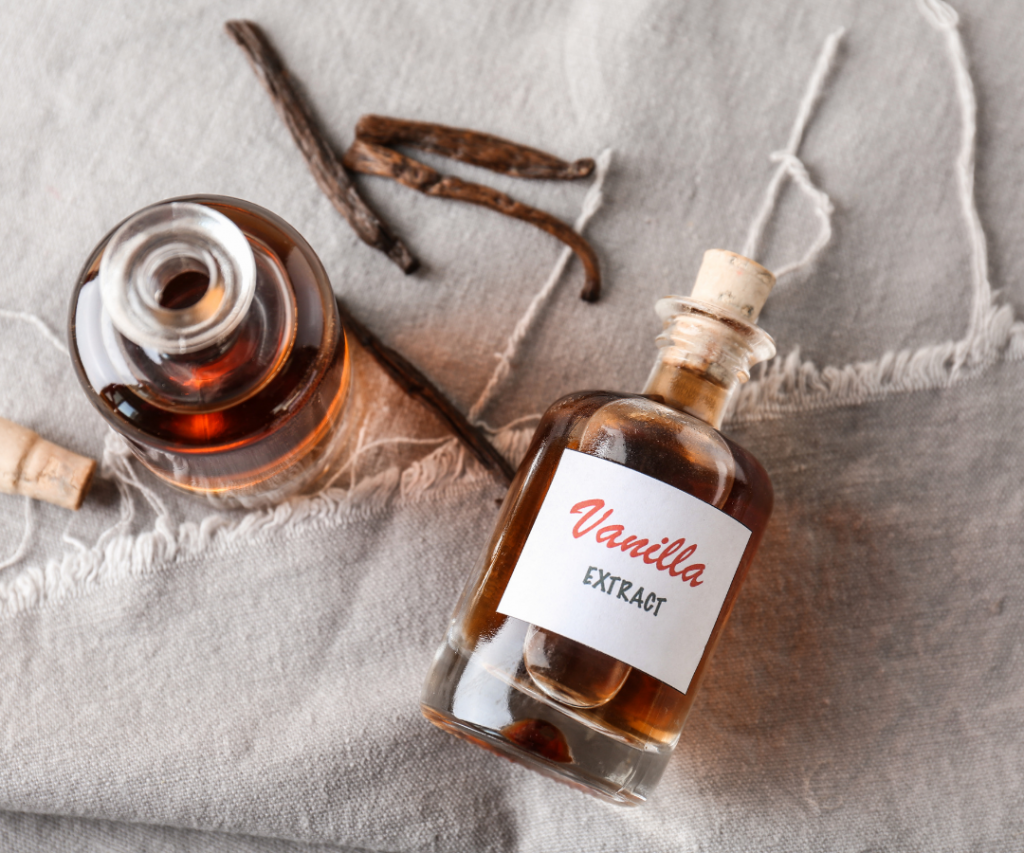
Now this preserving project requires a little bit more time and initial investment, but the rewards are well and truly worth it, especially if you’re a baker. Good vanilla extract is very expensive to buy in shops, so by making your own you’ll be saving yourself money in the long run – and kicking up the quality of your baked goods.
Ingredients:
10 Vanilla pods
500 ml of any spirit above 37.5% Alcohol Content – We recommend rum, vodka or bourbon!
Method:
Step 1:
Slice open the vanilla pods and place them inside a good quality glass bottle big enough to hold the liquid.
Step 2:
Pour all the alcohol into the bottle along with the vanilla beans. Pop the lid on and give it a shake.
Step 3:
Leave the vanilla bean mixture for about 12 weeks to infuse (however you can leave longer). Make sure you shake it up once a week.
Step 4:
And then it’s a waiting game. After 12 weeks use the vanilla extract as you desire!
There are many benefits to preserving food. Do you have any go to preserving recipes? Tell us on our socials!
Want to see some more inspiring recipes? Check out our previous blogs!